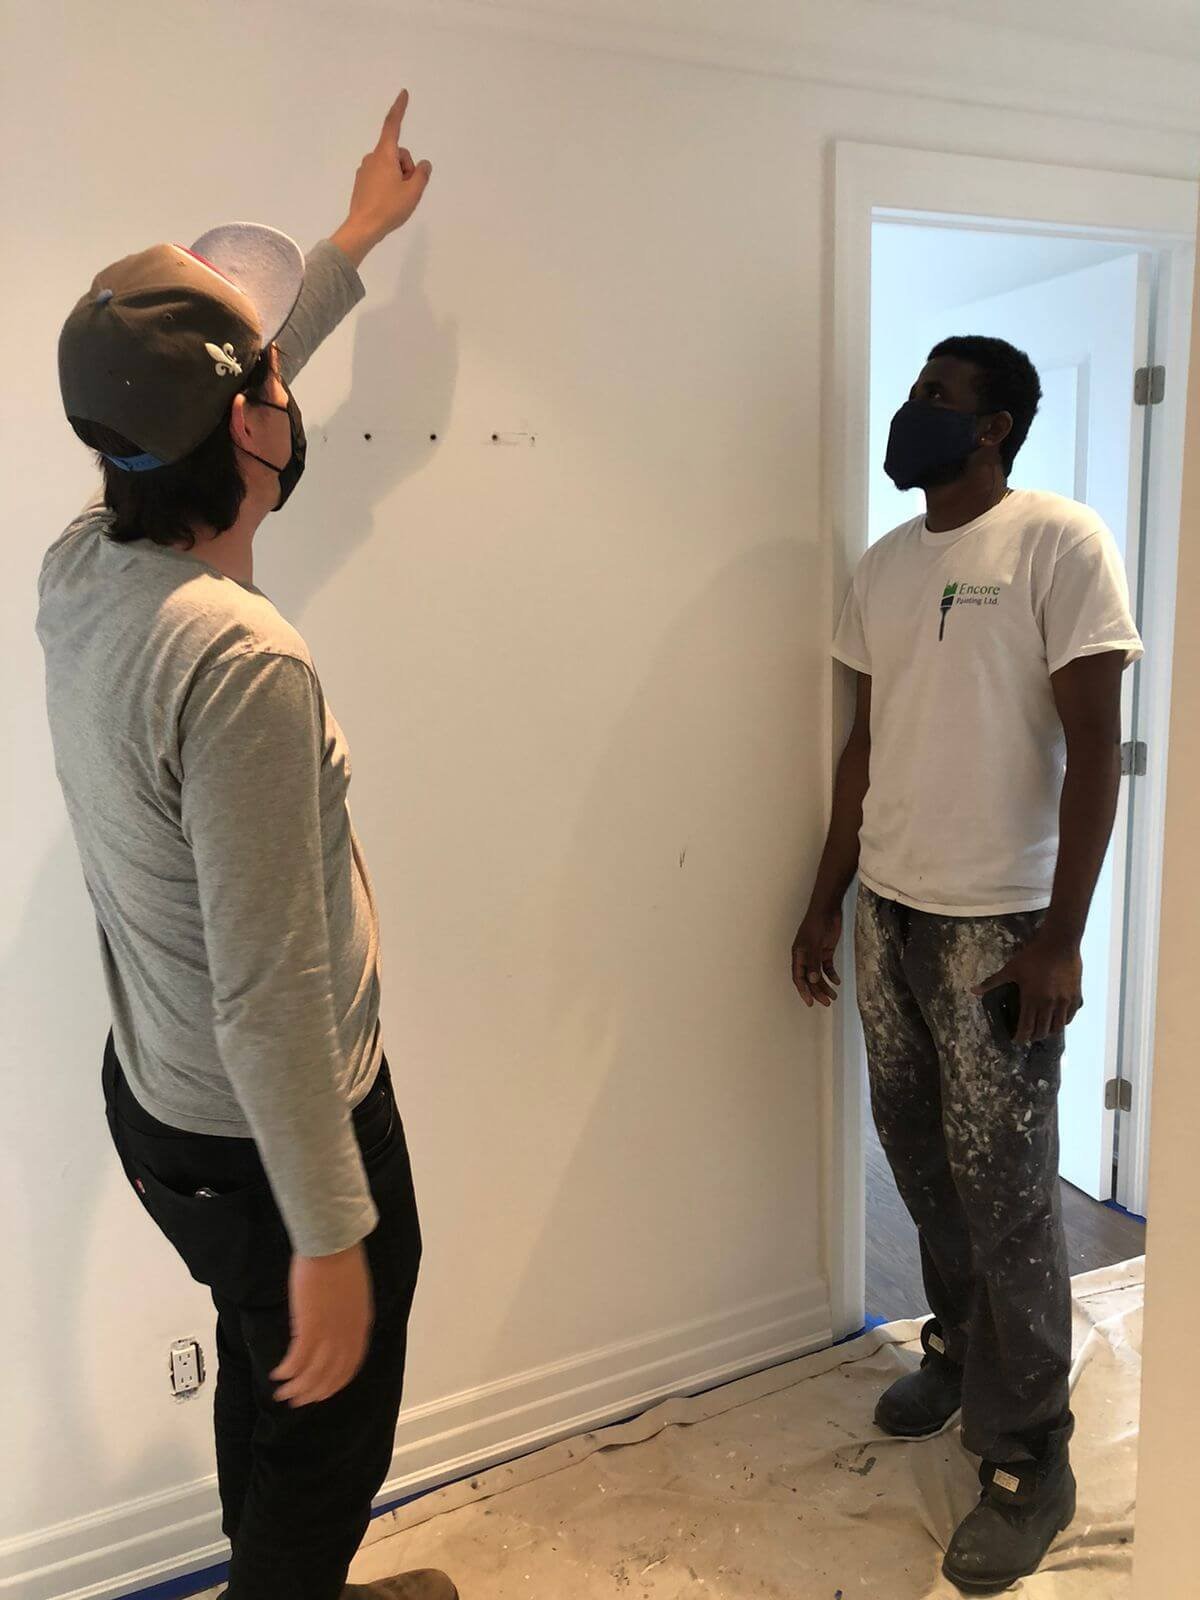
When you are evaluating a paint job to see if it is high quality, there are a few things that everyone should look for: Is the paint distributed evenly? Did the painters get any paint on unwanted surfaces, such as door or window frames? Is the paint peeling prematurely? Though these are all good indicators, one of the most obvious signs of a good (or bad!) paint job is this: are the lines straight?
Crisp, straight lines are one of the most important things you can do to make sure your paint job looks professional, while crooked lines are a sure fire way to make your walls look like they were painted by amateurs. Let’s take a look at how to paint clean lines so you can give the interior of your home a polished, professional look.

How do you paint straight lines between the wall and ceiling with tape?
To see our full guide on how to paint your walls properly, including the line between the wall and ceiling, check out our blog What’s the Best Way to Paint Interior Walls?, but to summarize, put painter’s tape on the ceiling along the junction between it and the wall. Then, after you’ve put on the primer and let it dry, using a brush, apply about a 10cm swath of paint along and slightly on the tape, doing two coats. After the paint has dried, remove the tape, and you will be left with a clean line between your wall and ceiling!
How do you paint straight lines perfectly?
Though we just spoke about how to paint the line between your wall and ceiling, this technique can be applied to any line or edge along your wall. Just like with the ceiling, baseboards, trim, and door and window frames can all be painted properly by following those steps. Just make sure that you cover the area you do not want painted with tape and paint slightly on the tape to get a clean line. Other than that, give your primer and paint ample time to dry, and you’ll get perfect lines every time!
How do you paint a straight line in the middle of the wall?
So far, we’ve talked about how to paint straight lines along areas of your walls that have edges, such as the ceiling or door frames, but what if you want to just paint a straight line in the middle of the wall? Though this technique is a little more precise, if you take your time and follow these steps, you can use this to give any room a unique look! Say you want a horizontal line halfway up your wall to paint only the top half. You’re going to need painters tape, a measuring tape, a pencil, and a level.
First, measure the height of your wall, and mark the halfway point with a pencil along the edge of the wall you want painted. Then, moving along the wall from one side to the other, use your measuring tape and pencil to mark the halfway point, with about 30cm between each mark. When you’re done, you should have pencil marks going along the halfway point of your wall.
Next, with your painters tape, tape along the pencil marks. Use your level to make sure that the tape is straight before firmly pushing it down. Then, simply paint along the tape, wait for it to dry, and remove it! For a vertical line, it’s the same thing, but instead of measuring half the height, start from one side of the wall and measure half the width. Measure that distance starting from the ceiling and moving to the floor making marks as you go, and you’ll end up with a straight guide for you to put your painter’s tape. Again, use your level to double check that the tape is straight, and you’re ready to paint!
Now that you know the proper way to paint straight lines, apply this technique to the interior of your home to give any room a professional looking paint job. And for those who would rather get professional quality from actual professionals, Encore Painting Ltd. is happy to help. Having served the GTA for nearly fifteen years, we have the experience and equipment for whatever painting project you have. Never worry about crooked lines or uneven edges again, contact Encore Painting Ltd. today to get your free quote.